
I have been working at Wickes closely following and working with a kitchen and bathroom design consultant as a KBA (kitchen and bathroom advisor) in this role I was the first point of call for the customers, I was tasked in gathering the information and ideas from the customer and deliver it to the designer somewhat similar to a specification. As much this is not my ideal area to do my work placement it is still extremely valuable as I have learnt to work with a range of different customers. I have also had to learn how to get as much useful information out of the first meeting in order to give the designer an advantage.
In this placement, I have developed a range of new skill whilst also further developing some of my existing ones. Below is a list of these skills that my placement has positively affected:
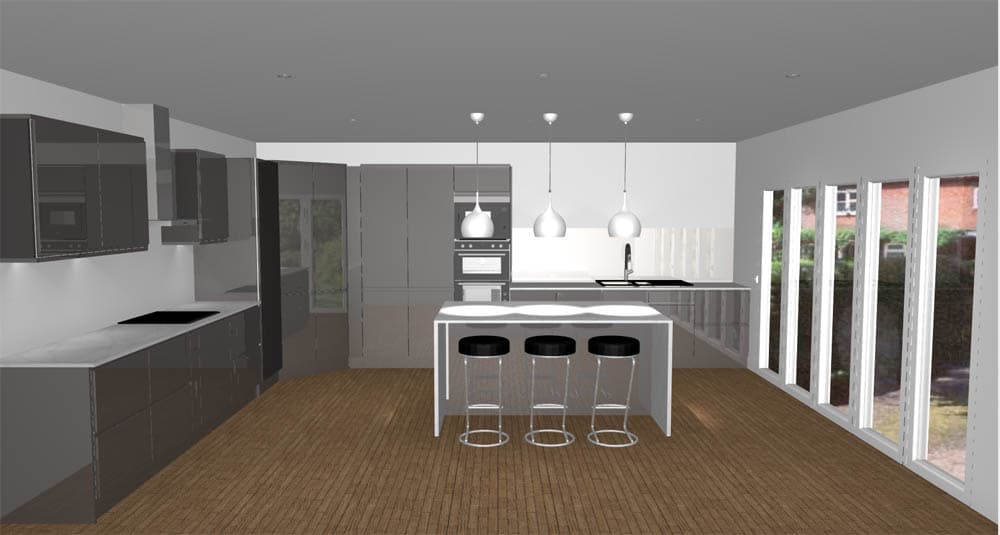
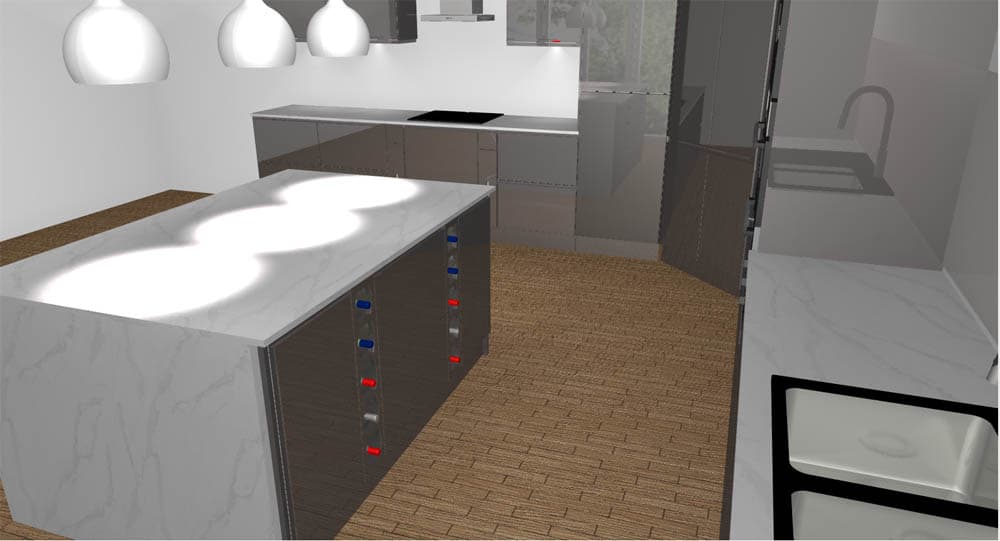
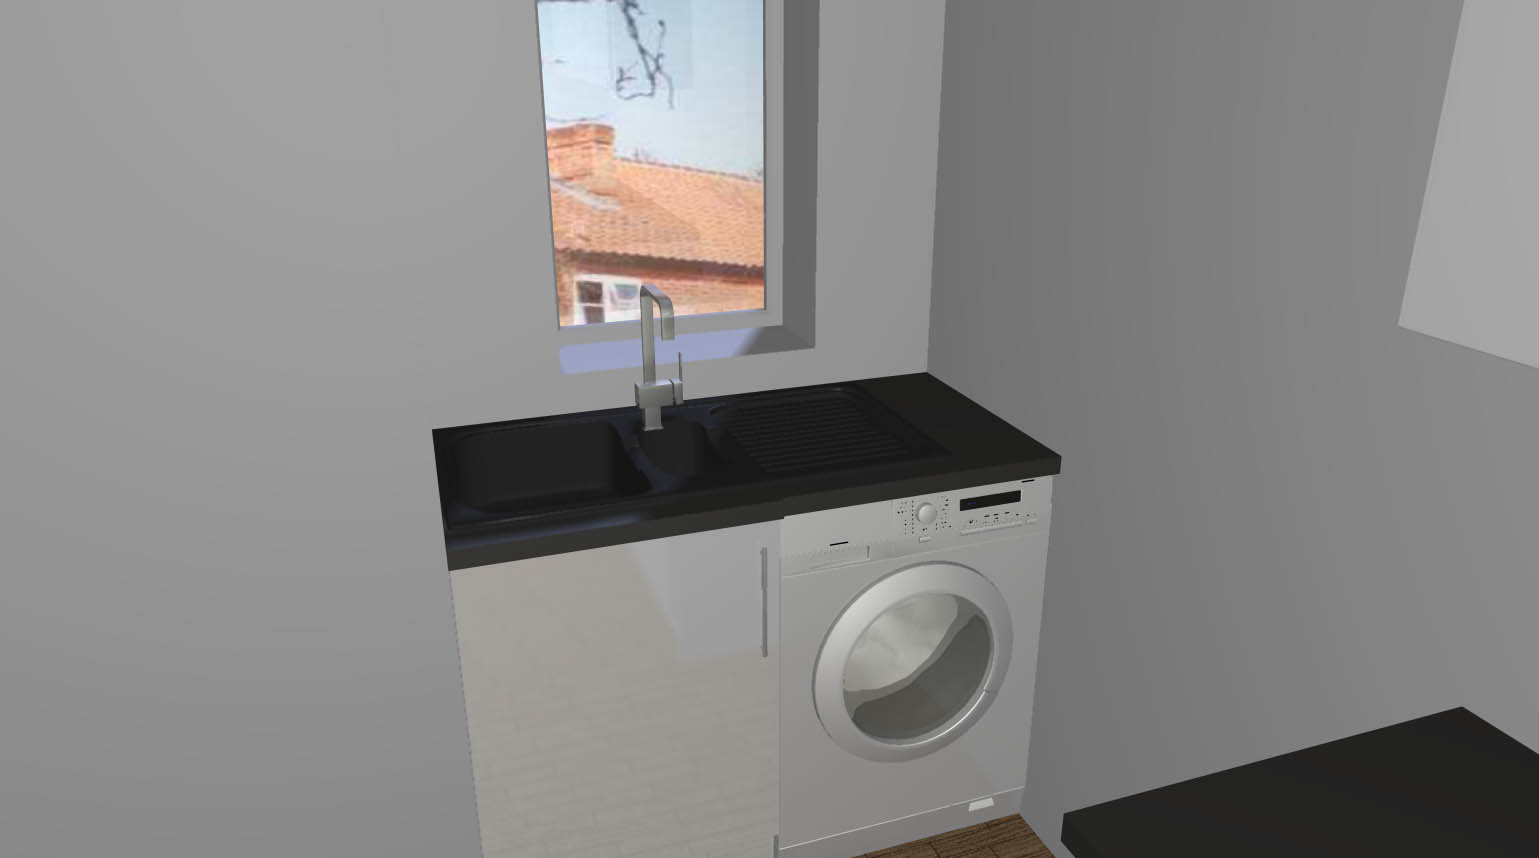
Below is a slideshow of images showing the work that I have produced over the placement. At the moment it seems very minimal because it is, due to the global pandemic the kitchen and bathroom showroom has been closed meaning I have not had access to the computer, and I have been busy completing my actual job there. In order make up for this I will be continuously be adding to the list of images and if there is anything significant about the design, I will provide full details. The below images consist of me playing with the software and learning the features that it includes
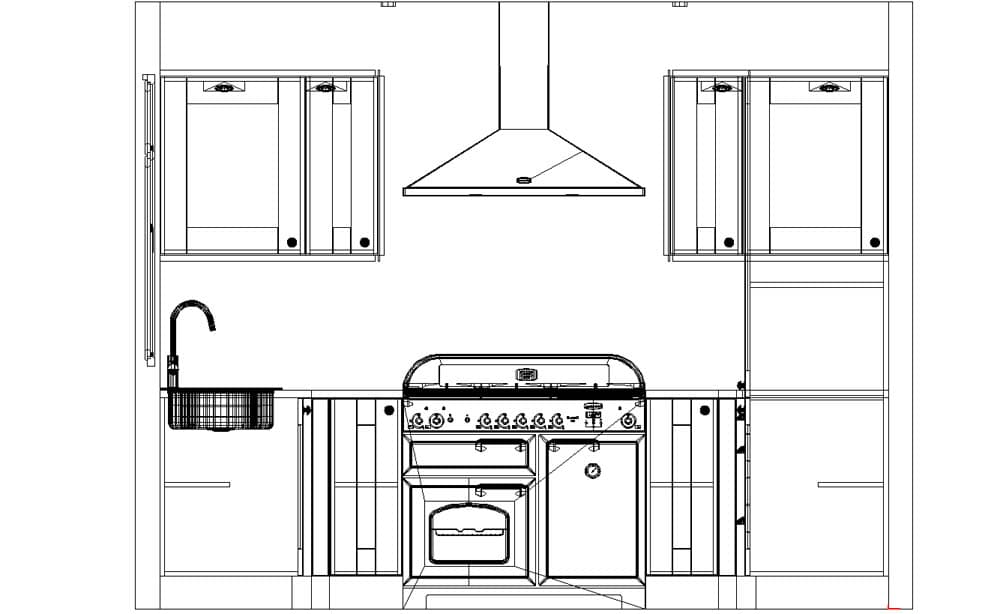
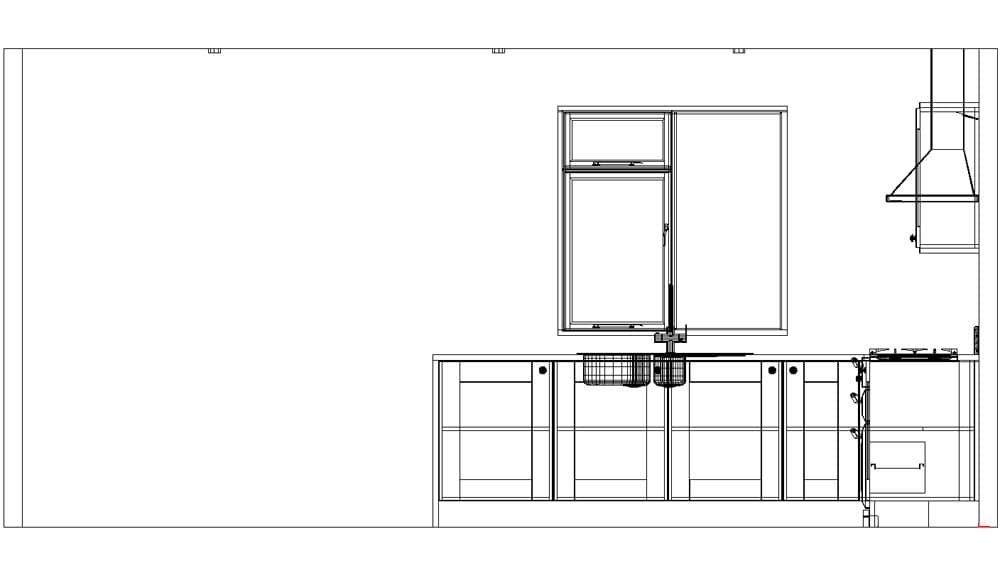
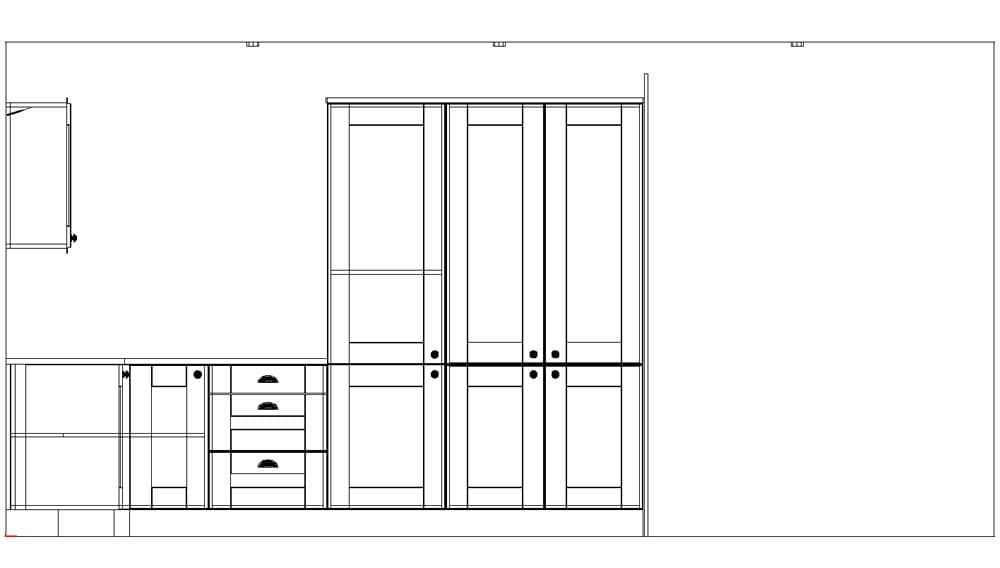
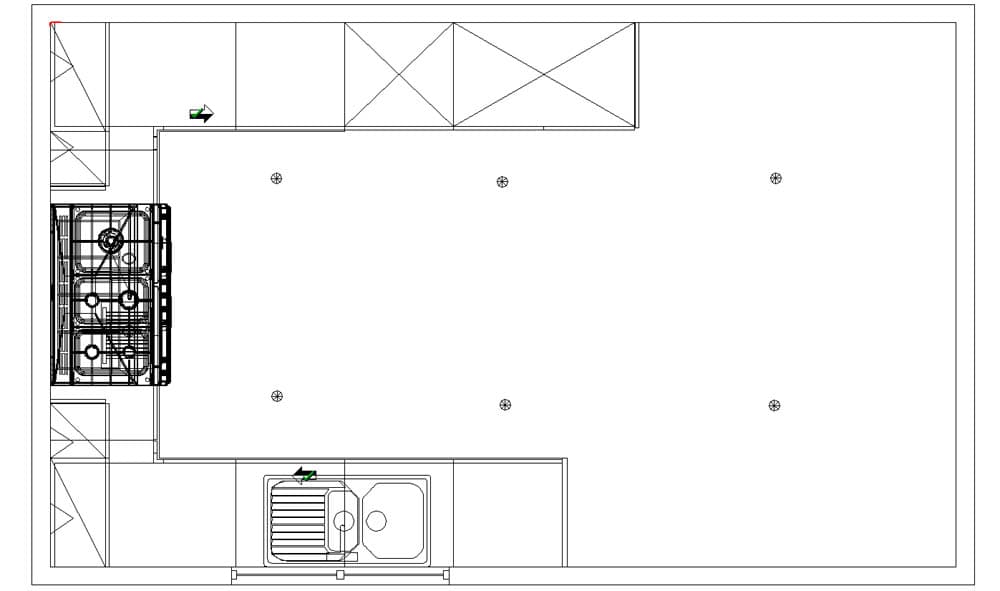
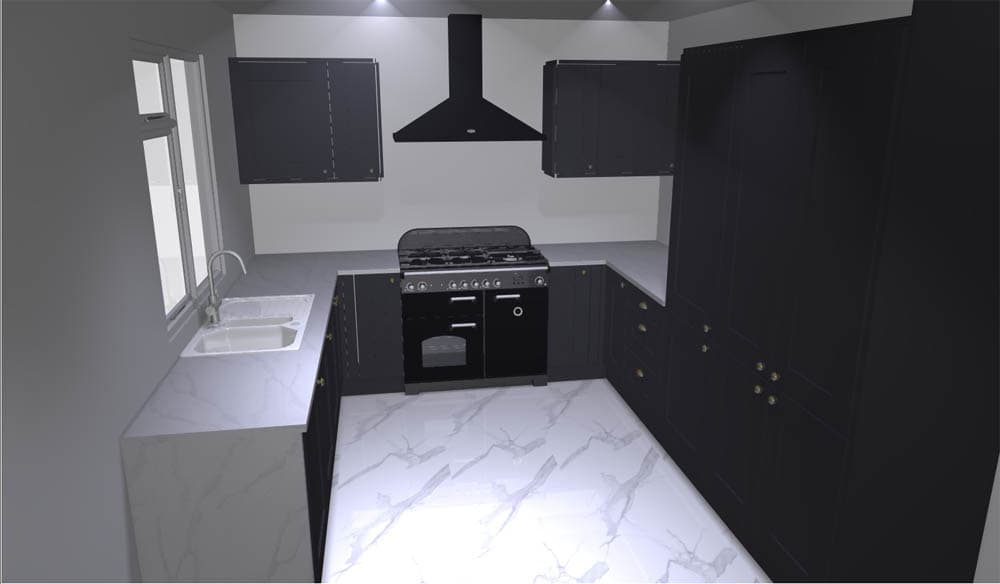
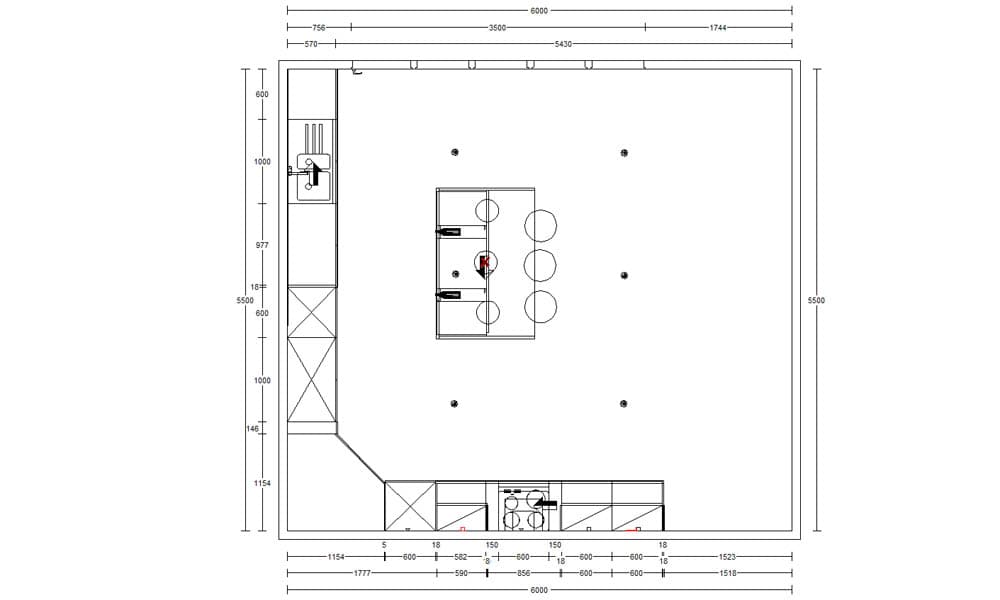
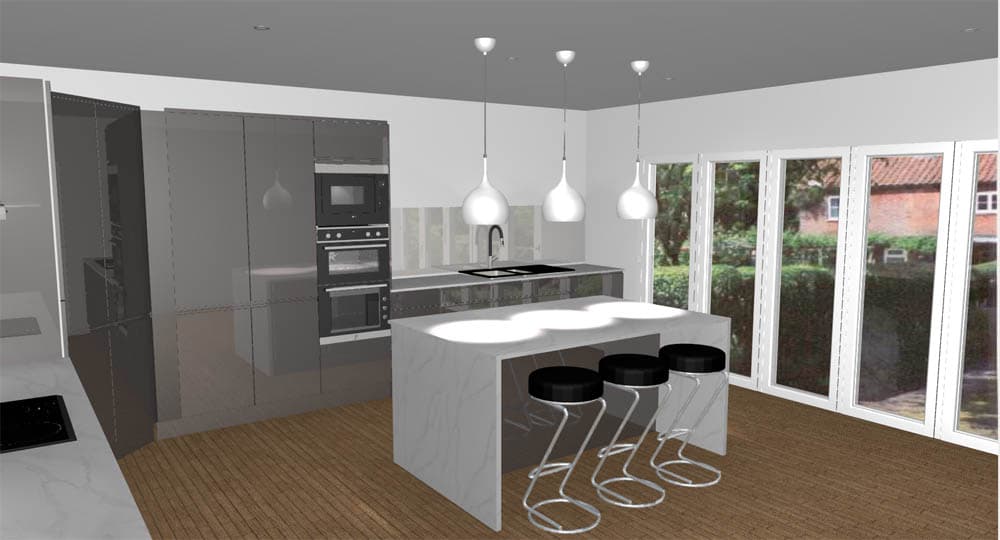
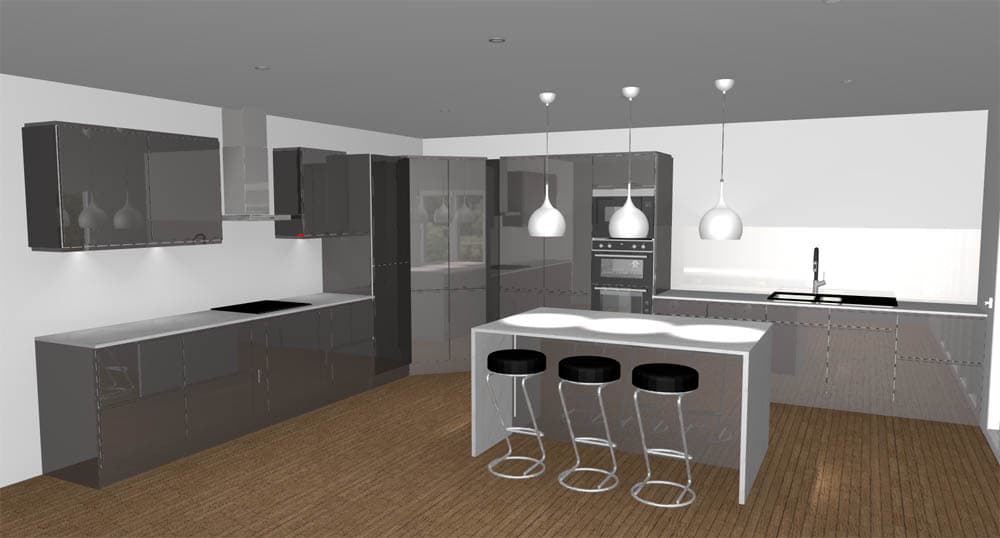
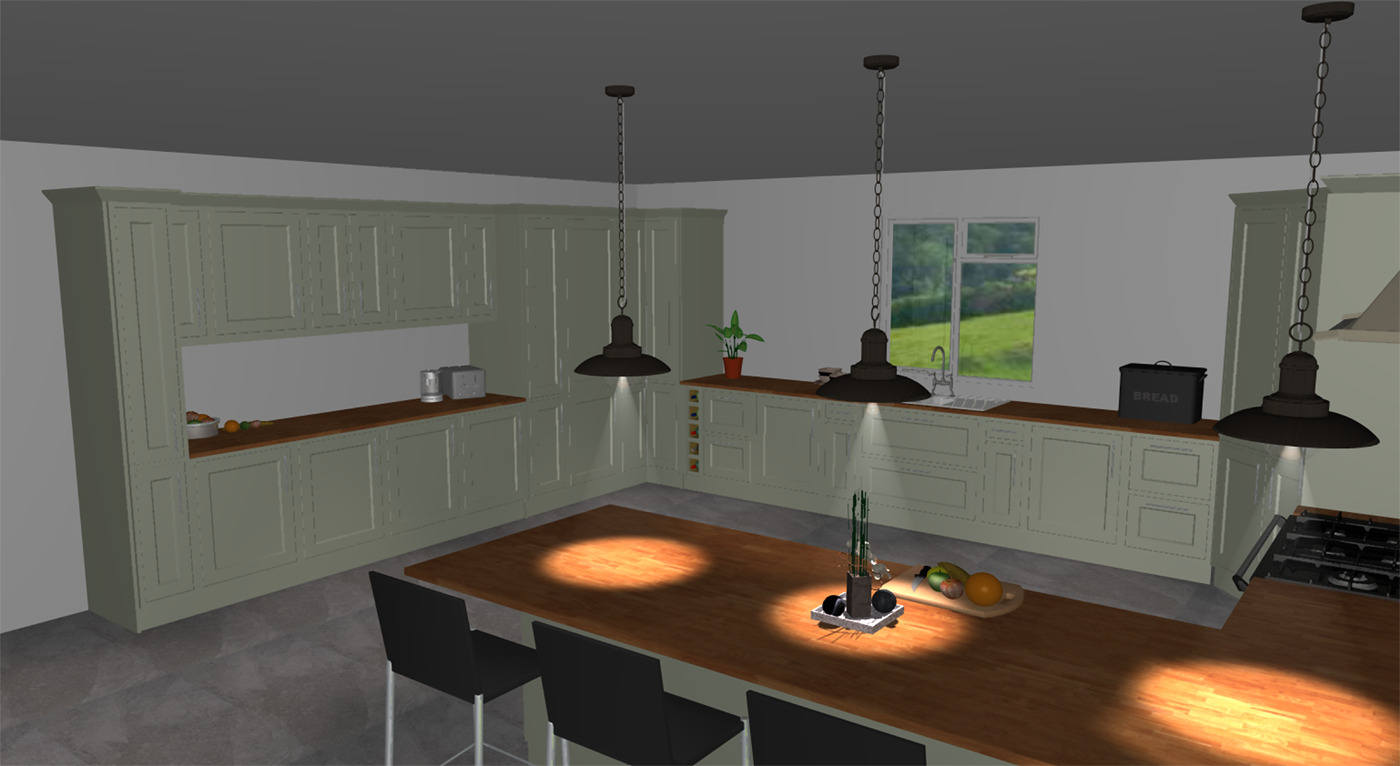
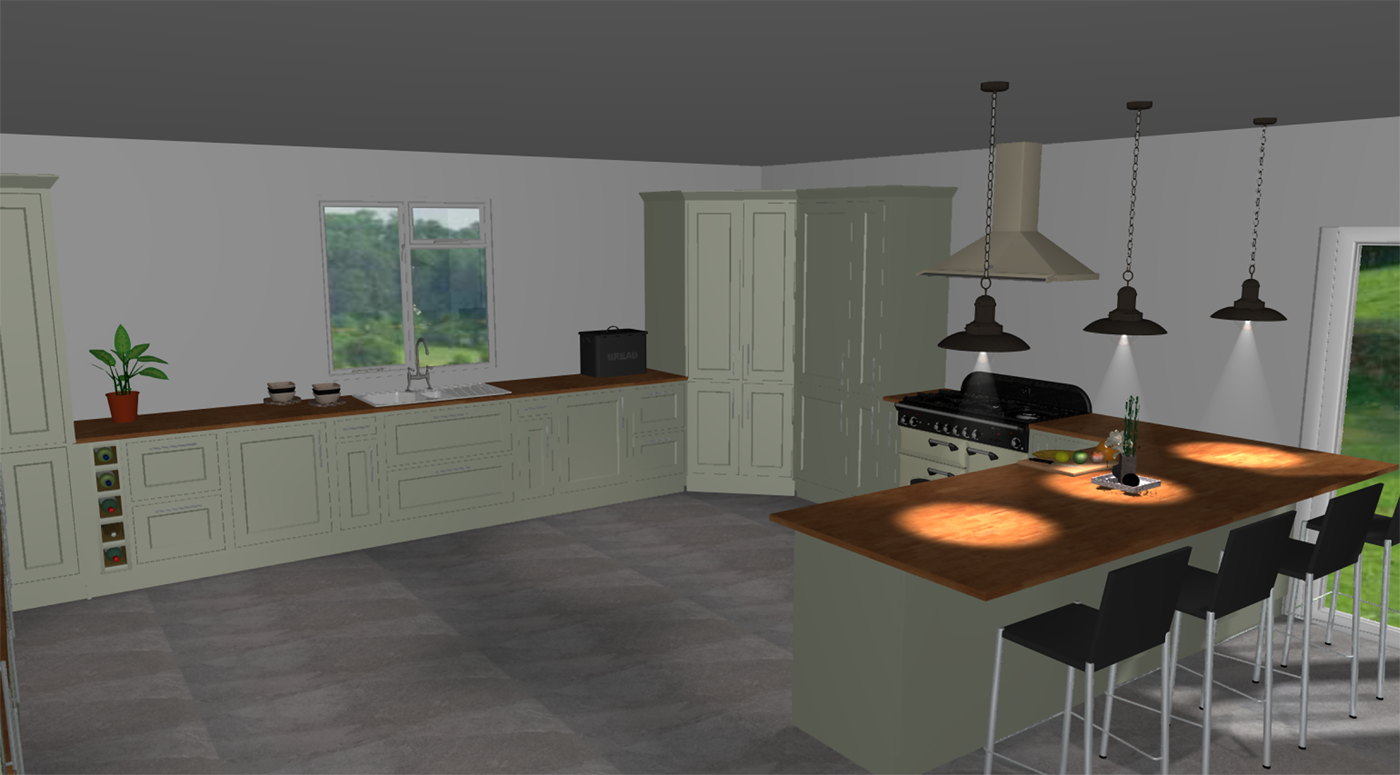
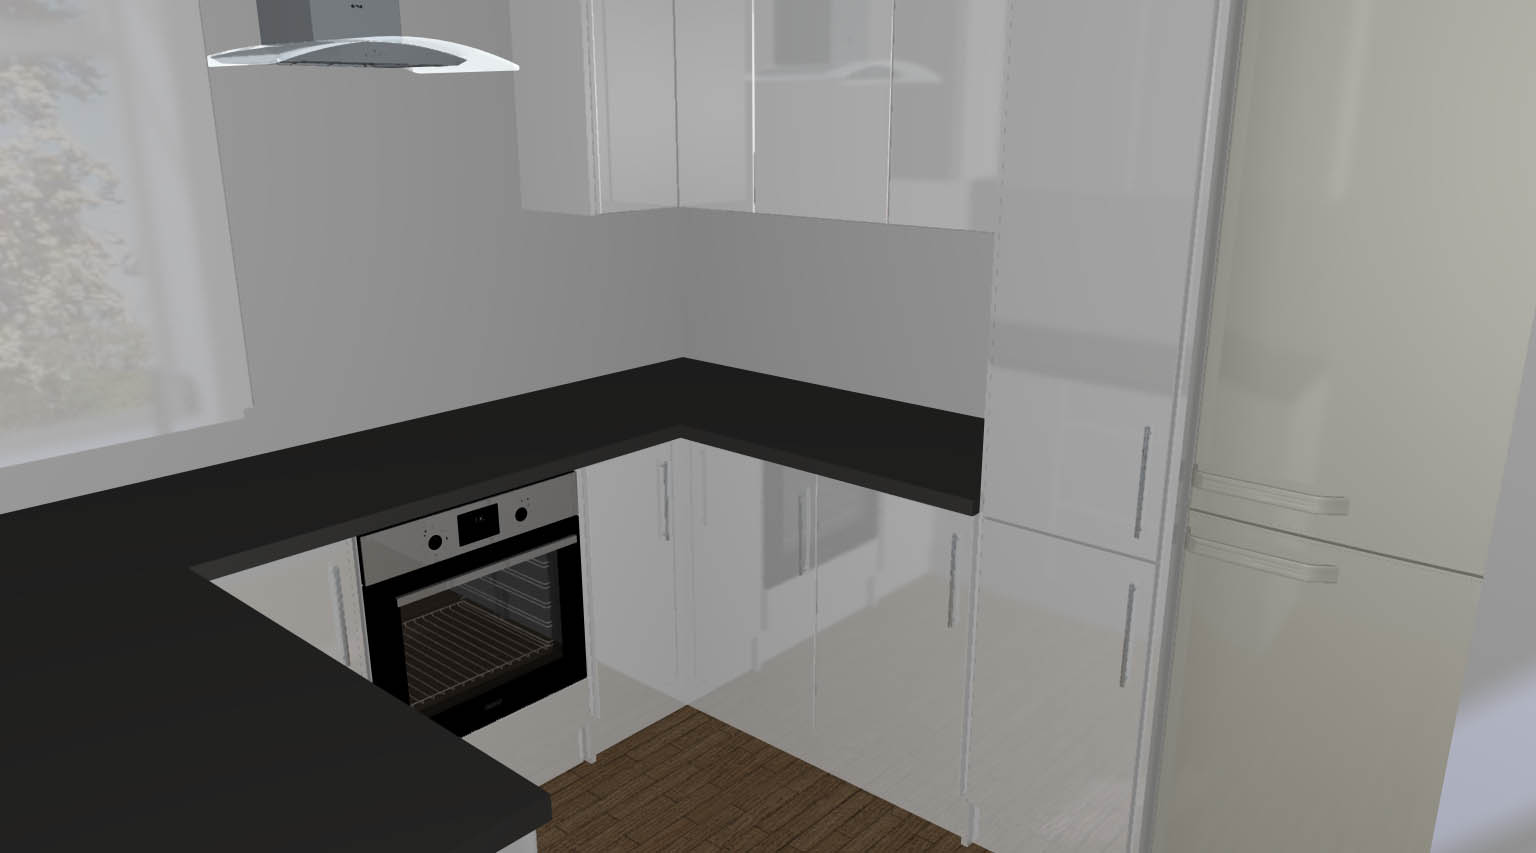

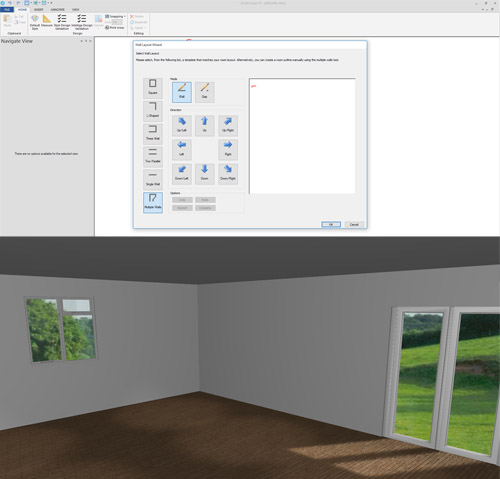
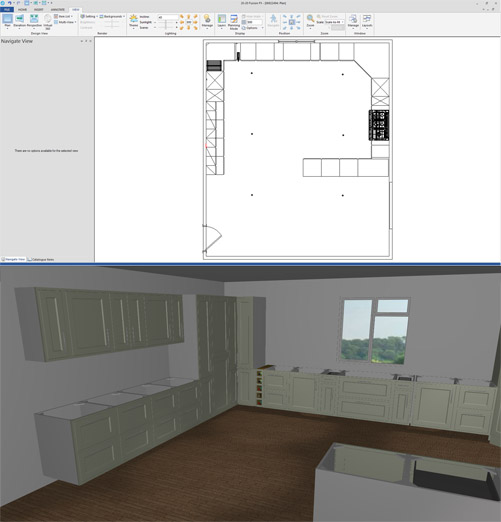
The first step when designing a kitchen is to get the dimensions of the customer's room. Once I have drawn them in the software, I put in the assets that won't be moved or changed like doors, windows and lights.
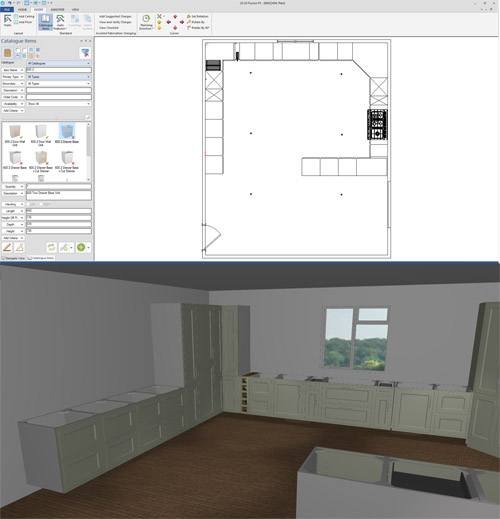
Secondly, I add all of the base units and appliances that are needed. When doing this I keep in mind what the customer has asked for and what they have specified. This is all done with a drag and drop style system from a database of all available products.
Next is to add all the wall units this is done in a very similar way but there are rules that I need to abide by. For example, there needs to be a 15mm gap between any wall units and oven hoods. You also need to be aware of what the customer is planning on putting in them to consider the weight restrictions
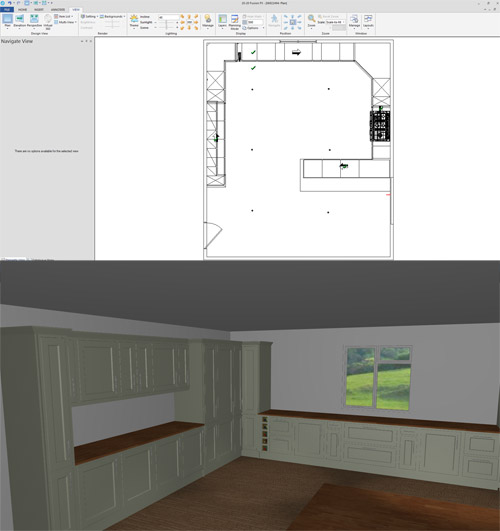
The next step is to add all of the final touches such as worktops, cornice, pelmet and plinth. This is all applied automatically depending on what style and colour the units are in. The one exception is worktops where there are lots of different customisation options such as material and colour overhangs and rounded edges.
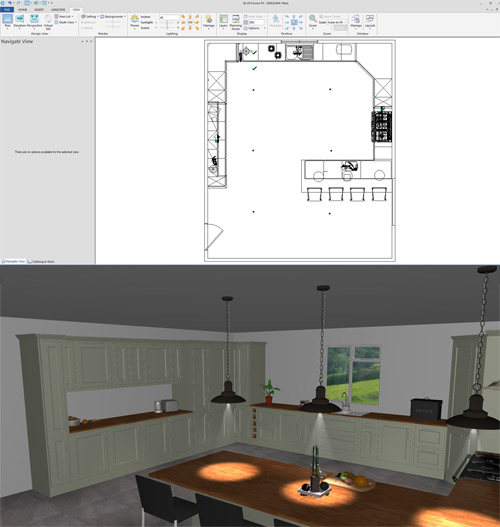
The final step is to add decoration around the kitchen. This is normally optional but it helps the customer visualise a little of what the kitchen will look like with some items moved in. all the elements in the kitchen design can be easily changed and edited to implement customers feedback as quickly as possible.